2021 Valentine's Day will soon be upon us! It's the perfect time to take photos. For perfect Valentine's Day photoshooting, a beautiful background is essential. The following is the balloon garland DIY tutorial for your Valentine photoshoot.
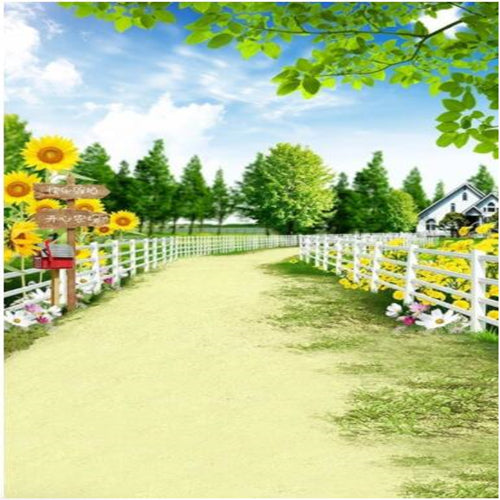
Anastasia Onishchenko is a popular Youtuber who have a huge passion for Backdrop DIY's and Event decor. In the video, she will show you a beautiful Valentine Love Themed Balloon Garland DIY Tutorial step by step. The beautiful background mainly consists of colorful DIY balloon garland, and a beautiful Dbackdrop Valentine Love White House Helicopter Backdrop. It is perfect for Valentine photography and decoration.
The most important part is to create a beautiful balloon garland So firstly, you need:
5 Colors Balloons (size: 5'' 11'' 16'')
Backdrop
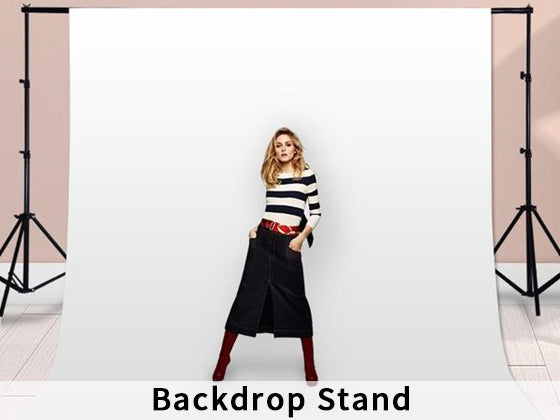
Backdrop Fame
Balloon Pump
Rubber Bands
Balloon Tying Tool
Dry Flowers and Leaves
Regarding the backdrop, Anastasia chose a 8x8ft Dbackdrop Valentine Love White House Helicopter Backdrop for Photography, which is perfect for Valentine Balloon Garland DIY.
Next, you can start to build this beautiful balloon garland.
Step One: Inflate balloons and Create Balloon Clusters
1. Inflate red balloons into different sizes;
2. Press them against the floor to give them more rounder shape;
3. Tie two balloons together into a pair (11'' with 16'') to create clusters;
4. Grab two different pairs of balloons in white color and interwining them two together, like that shows in the video.
5. Take another cluster and add on to the quad that you just made and, interwine everything together.
6. Repeat the above step, make sure you interwine everything nice and tight together.
[ Tip:As soon as you’ve done inflating them, you can press them against the floor to give them more rounder shape. This step is optional since some people love more elongated balloons. Please remember do not over inflate your balloons]

Step Two: Tie Clusters Together to Make Balloon Garland
1. Take two different sizes clusters, reach in and look for the longest and stretchiest balloon neck, grab those two necks and tie them together to create a little mini balloon garland.
2. Do exactly the same thing with the rest of my clusters until you reach the size of a garland that you need.
Step Three: Tie the Balloon Garland to the Backdrop Frame
1. Use curling ribbon to tie the balloon garland to the pipe.
2. Grab extra clusters of balloons and start to build it up. Add more balloons, so there will be more color, creating more shape and curve on this balloon garment. In this step, you can use rubber bands to loop and tie the clusters, as shown in the video.
3. Repeat the above step. and use other blue balloons to decorate the garland. Do exactly the same thing with the other side.

Step Four: Add Some Dry Flowers ans Leaves Decoration
The final touch is adding some dry flowers and leaves to make a decoration at the bottom and top of the balloon garland. Before putting flowers into your balloon garland, make sure your balloon garland can hold all the flower weight.
With Anastasia's DIY techniques, you will see, create a really fantastic Valentine's Day balloon garland can be so fun and easy! And a beautiful Valentine backdrop will play an essential role for your 2021 Valentine's Day photoshooting!
For More Inspirations: Dbackdrop 2021 Valentine's Day Backdrops Collection
Read More Articles: Tutorial Blog for Photography & Backdrop
Anastasia Onishchenkoa popular Youtuber I have introduced before. She has huge passion for Backdrop DIY and Event decor, and she can always give great tips and creativity basically about anything that you can DIY and make yourself. Join her YouTube Channel, and you will always get inspirations! |

